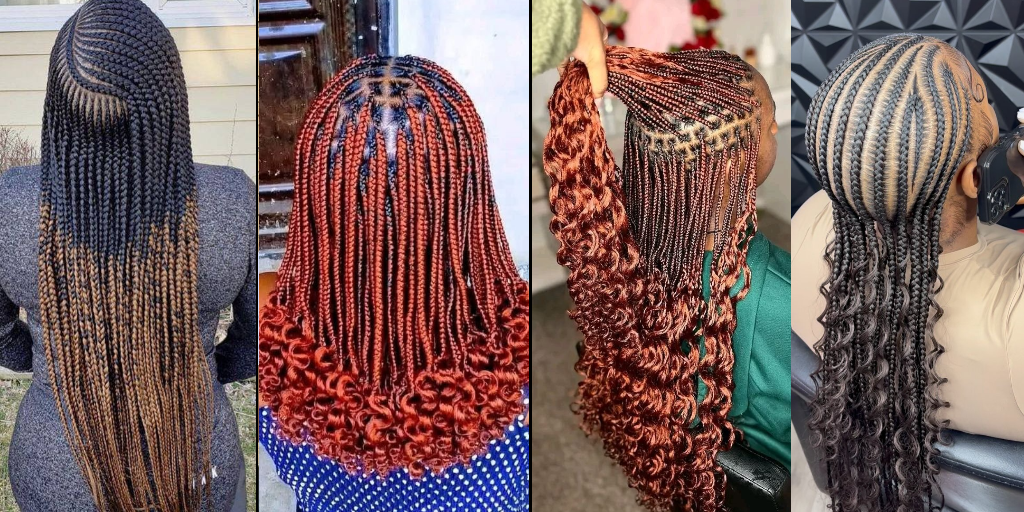
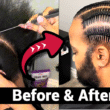

I will teach you the process of how to achieve two feed-in braids on full hair. By the end of this braiding process, you will understand hair types and their qualities, the right tools and their usage, the products used, and various secrets to achieving the best feed-in braid.
Important of Trimming and Blowing Out The Hair
Before that, you will work on the hair from a natural stage to a retouch stage by Trimming and Blowing Out the Natural Hair before braiding the Full Hair with the feed in. I want to show you how to trim the hair before starting the Two Feed In Braids on Full Hair. The last time I trimmed it was probably about six months ago. I try to do it every four months, but sometimes I was unable.
Step 1: Preparing and Sectioning The Hair
Go ahead and section the hair into some workable sections. Split the hair down in the center, and start sectioning the side. Do about three sections on the sides. Focus on the back section, make sure everything is out of the way that way you aren’t going over the same section of hair more than once. Make the section a little bit smaller. Split it into three sections.
Step 2: Detangle the Back Section of The Hair
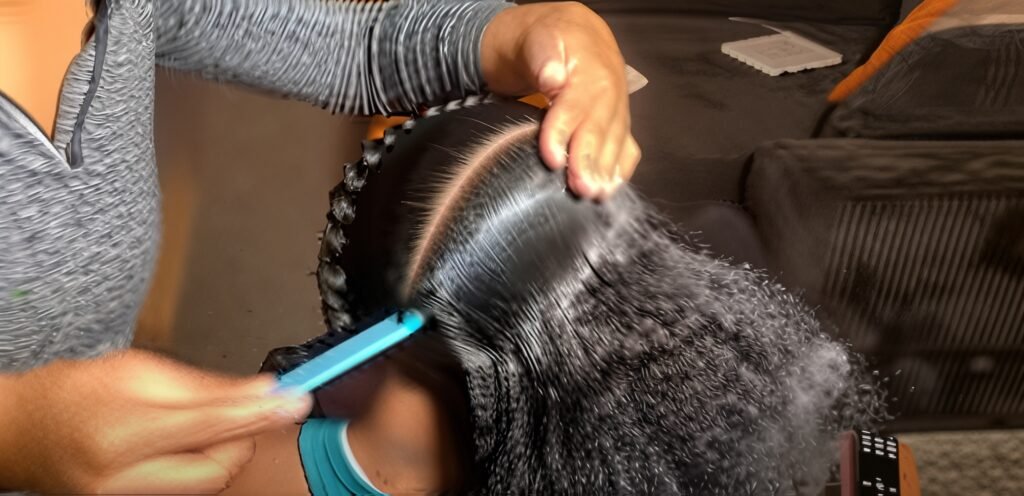
Use a wide-tooth comb, comb and go through that section. Go through with a finer-tooth comb to make sure that there are no knots and tangles. Starting at the bottom, work the way up. This is one of the reasons why you should made the section smaller, because the fine-tooth comb would not have gone through such a large section of the hair. That section is all detangled.
Step 3: Trim the Ends for Better Hair Health
Now, to cut, smooth the hair between the fingers and slide it down to where I want to cut it. Look at the hair to see if it needs to be cut more than an inch, but leave it when it is 1 inch. Straighten out the ends of the hair while holding the hair taut in the hand. Stretch out the ends because they are not perfectly straight. Also, check if there are any split ends or any fairy knots at the end of the hair. Slide the fingers down a little bit more and cut it.
Step 4: Check and Secue the Trimmed Section
Take the fine-tooth comb again, start at the ends, work the way up, drag the fingers down the length of my hair, and stop right at where you want to cut it. Now, easily run the fingers through the hair without it getting caught. With that section done correctly, go ahead to take the hair and twist it up. That way, it doesn’t get cut again.
Step 5: Complete the Trimming on the Sections
Working with this section, run the fingers through it, take the wide-tooth comb, make sure it’s detangled, going to take a finer-tooth comb, go through and make sure that there are no tangles. Slide the fingers down to where you want to cut, get your scissors, and continue to cut off that hair. Can you see that it has been cut? If yes, then nice. Of course, you definitely need a proper haircut, but for now, we are doing a trim.
The last section of the hair.
Split the hair into two. Again, take off only about an inch. After you finish cutting, go back in and look through to see if you see any fairy knots or any split ends. Go in with the scissors and trim those away. Go ahead and cut off about an inch of hair. Your hair should feels pretty good.
Results
Wash day should be a lot easier. If you’re noticing that wash day is taking you a lot longer, detangling is a pain, you probably are due for a trim, especially if it’s been a while since you’ve had one.
Hair stylists suggest that you get your hair trimmed about every four months. I try my best to do that, but it doesn’t always happen that way.
Between haircuts, maintain the hair by yourself at home with a good pair of hair scissors. You don’t have to get these exact ones, but you want to get something that is made for cutting hair, and you want to make sure that you’re only using it on your hair.
If you are using scissors to cut anything else besides hair, you are going to cause more damage to your hair. The scissors eventually become dull, and they don’t cut as cleanly as they would if they were cutting hair.
Our main goal is to have healthy hair. I know when it gets to about this length, this is where I start to get annoyed with it, and I end up getting and chopping it to brush length. That always happens to me, but I tried to keep it nice and long. Learn from my mistakes and work on yours.
Now that you have the hair full trimmed and blown you can styles it into any design of your preference. Since I promise you on adding Two Feed In Braids on Full Hair, so that is exactly what will do.
Products used :
1. Shine ‘n Jam (orange container, Supreme Hold)
2. Rat tail comb
3. Wooden rack
4. Edge booster (red container)
Things That I Used: I used 1 pack of Expressions pre-stretched hair in color #1b, 58-inch length.

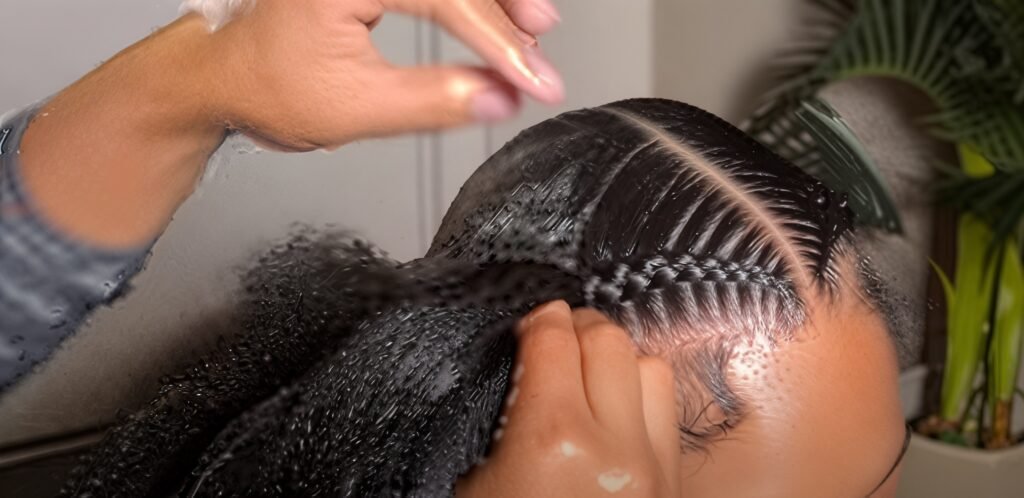
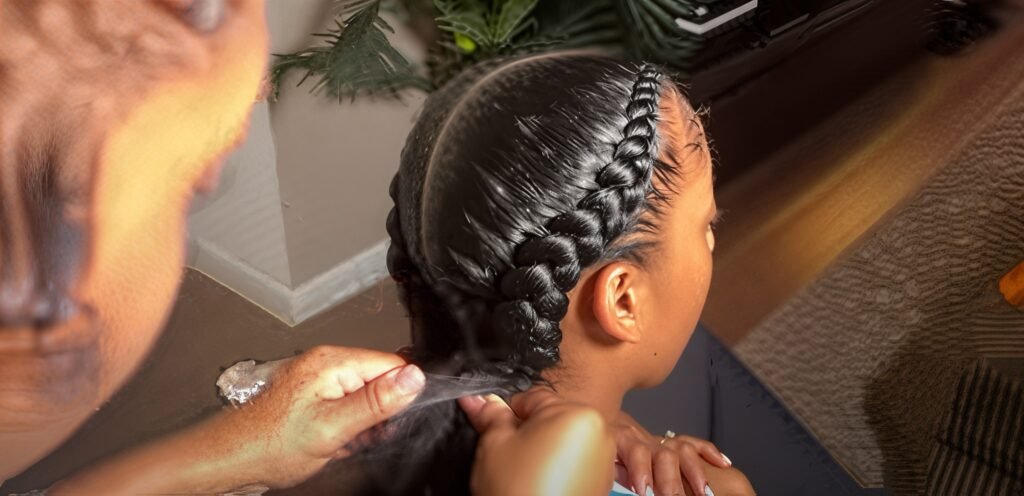
First, part your client’s hair in the middle. Make sure the hair is blow-dried as straight as possible because this style can be tough on the fingers. Make the process easy by ensuring to run the fingers and comb through the the hair easily.
Now is the molding process, which is the most important part of this hairstyle. Once you mold and sleek the hair down, it’ll be much easier to braid.
Use a water-based product such as Shine and Jam or any kind of gel to mold and sleek down the hair. Avoid using any waxy or edge-control-like substance because that’ll make it harder to braid and harder to grip the hair as you go.
Parting the hair in sections, apply jam between each one. This ensures the product is distributed throughout the head, making it easier to sleek down.
Next, use a comb to go through the sections the the product is applied. Comb it to ensures the jam fully penetrates the hair, it helps it to make the hair sleek and ensure no sections are missed.
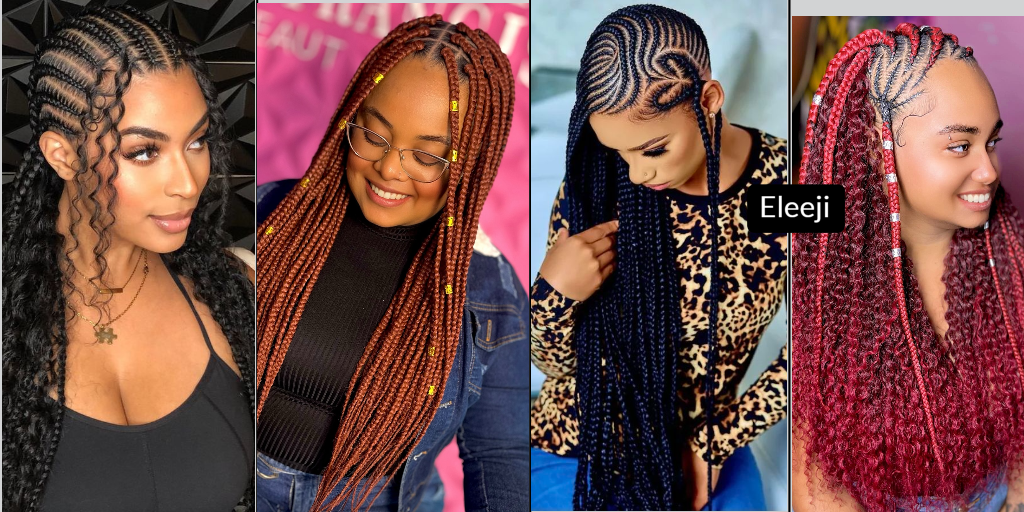
Parting and Beginning the Braids
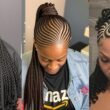
Start braiding the hair to the edge of the head, give it a crown halo look. That’s the designs we are aiming for.
Use your pinkies to stitch, but you can use a comb instead; whichever may works easier for you.
Part the smaller sections especially when dealing with a with thick hair, this make the section able to grip easy. Takte your time it’s a very tedious hairstyle, especially when you get towards the bottom.
Adding Hair and Continuing the Braid
Braiding Technique
When adding the braiding pieces, you should start off by adding small braiding pieces at the very front that the braid doesn’t start out bulky. However, the amount of hair you add to the braid will be determined by your preference, what your client wants and how she wants her braid to look.
For example, I want this braid to be a thick, chunky braid. I started to add even bigger pieces, I talk about big pieces, throughout the braid towards the bottom and towards the end.
Product Application and Sleekness
Add the product to the hair so that it doesn’t turn out too frizzy, it helps it sleek and blends in with the braid as much as possible.
Consistency and Alignment
The mistake people probably make when doing this hairstyle is they stopped using the comb. They felt like the comb was holding them back, and they just started using my hands.
But sometimes that can be a slippery slope because whenever you’re braiding hair and you’re grabbing the right and the left section, you definitely want it to be aligned.
Sometimes, when you don’t use the precise part that the comb will give you, you might start gripping or adding more hair than usual, and then it’ll misalign. Definitely try to keep using the comb and just be consistent with that.
Finishing Touches and Conclusion
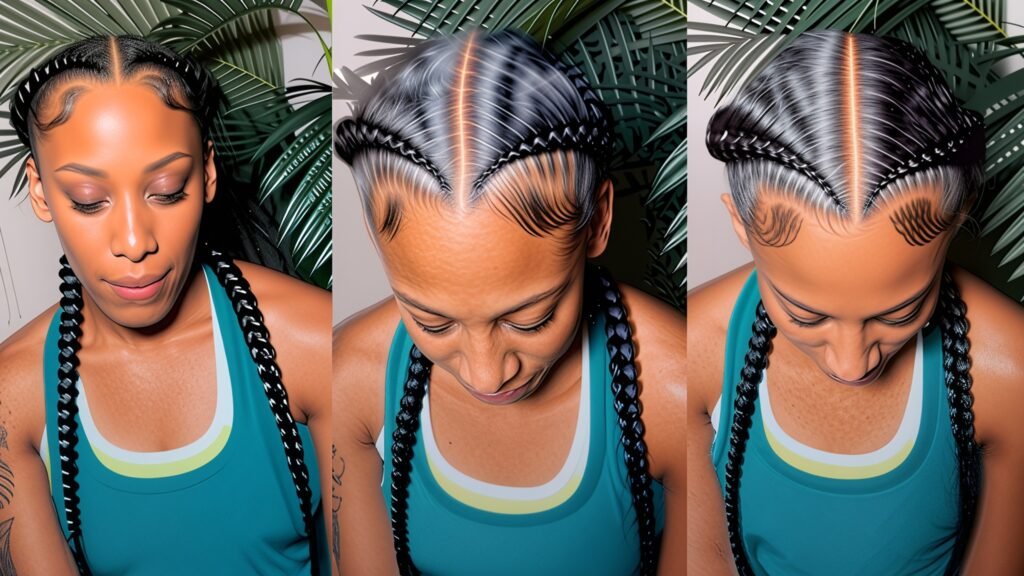
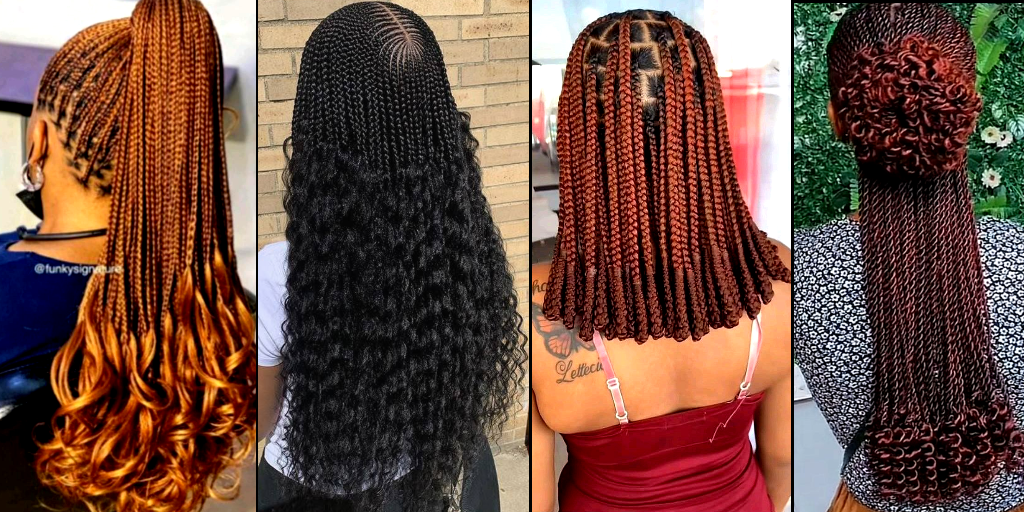
This beautiful feed-in braids is one of the outstanding braids among the trendy hair designs, unlike knotless, cornrow, and twists which are winning the competition in the fashion industry today.
This hairstyle can be worn to various places such as parties like cocktail and birthday parties. It can also be used in commercial places like notable conferences, and it’s not bad for traveling as well due to its simplicity.
Once you get towards the end, check the hair to make sure you’re not pulling anything too tight, and that it is as comfortable as possible, especially when the head is held down because sometimes as braiders, we can grip the bottom too tight.
Go back and do the finishing touches like laying her edges, sleek the hair down, and tuck the rest of the hair inside of the braid so that it can get a cleaner look.